How to Style a Shopify Store
A quick guide to setting up and Styling a store on Shopify.
Wondering how to style a Shopify Store? Read this quick and easy mini-guide.
Shopify is a really popular ecommerce platform, that makes it easy to have your own online store.
In this mini-guide, I’ll show you how to quickly create and style a Shopify Store. If you have questions, or want me to add something else to the guide, let me know.
1. Create a Shopify Account
You will need a Shopify account to create your Shopify store, and to access orders and other information once your store is up and running.
Go to shopify.com and click “Start Free Trial” in the top righthand corner of the website. This will give you a few days to get familiar with Shopify, before you need to select a plan and start paying for their service. During this time you can easily set up your store and get a feel for whether Shopify is a good fit for you.
You will be prompted to enter details and create an account.
Select a name for your store, which will generate the temporary URL, and then select the country your store is based in.
Continue to follow Shopify’s prompts, and you will eventually arrive at your new Shopify Dashboard.
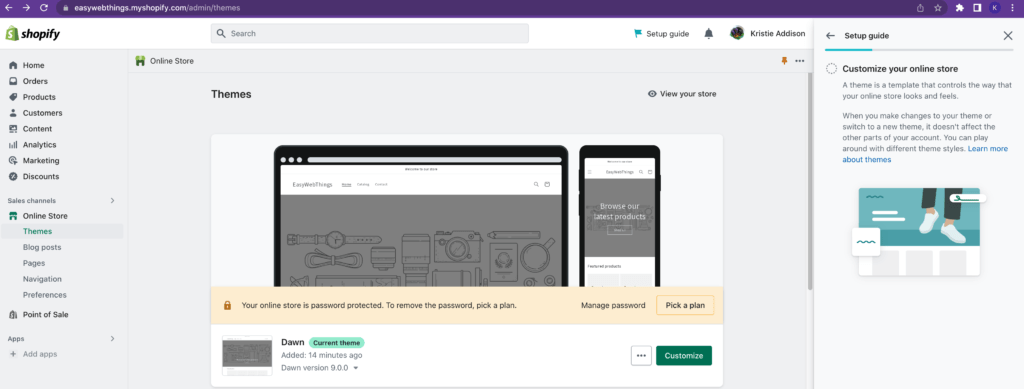
2. Select a Theme
Once you’ve reached the Shopify dashboard, you will be able to select a theme.
Your theme will give you options to style shopify.
In this example, I am going to show you how to style the default theme “Dawn”. This is one of the free themes made by Shopify.
Once you have selected your theme, click the ‘Customise’ button.
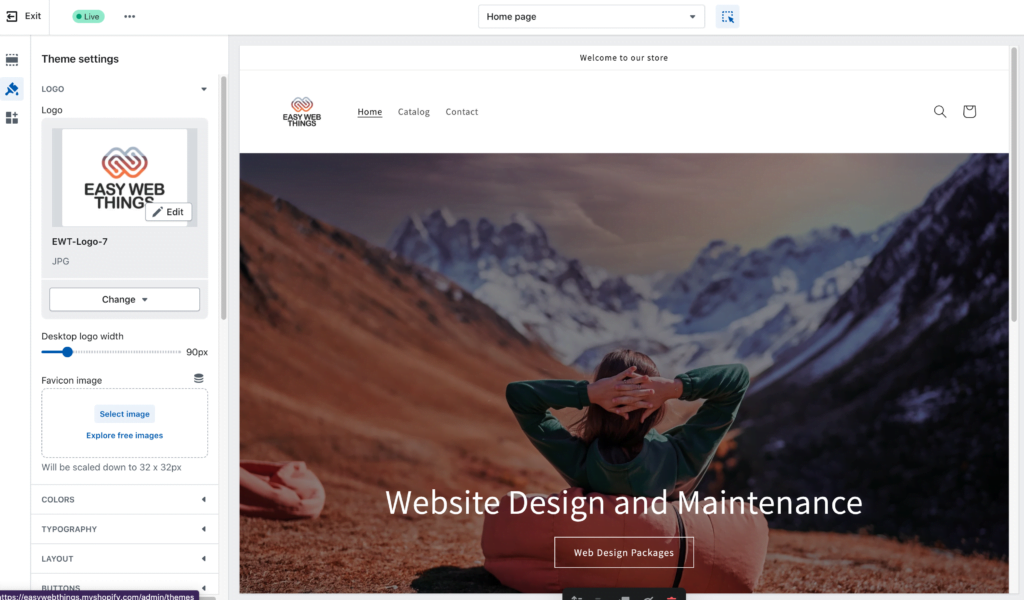
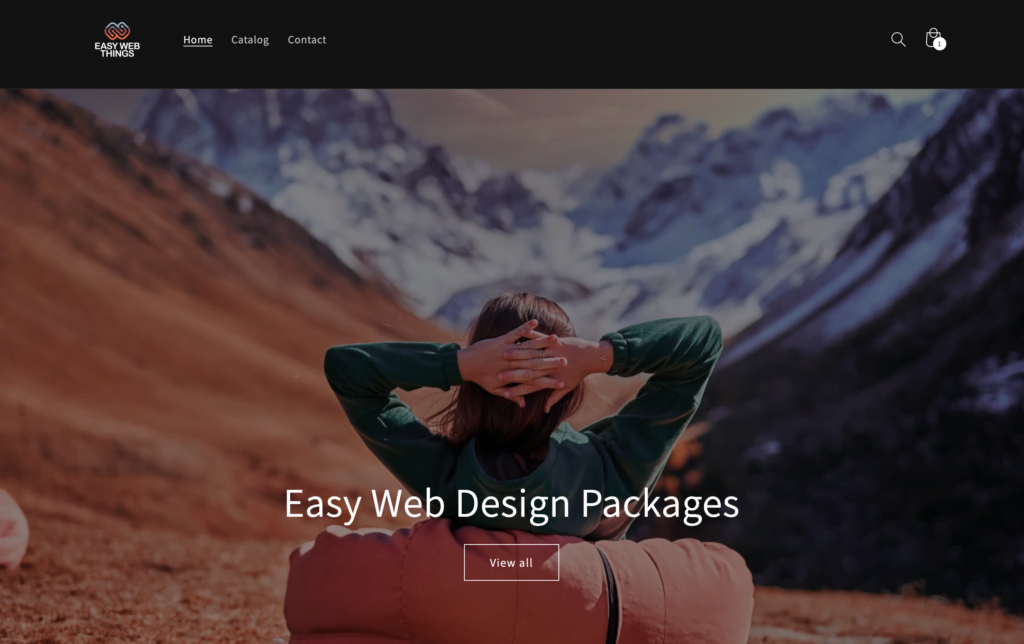
3. Change the Hero picture and button text
In the Dawn theme, there is a large ‘hero’ section, featuring space for an image, a heading, and a button.
You can start by clicking the default image, which will give you options to replace it with an image of your own.
Clicking the heading, and the button, will give you the options to change the text in these elements.

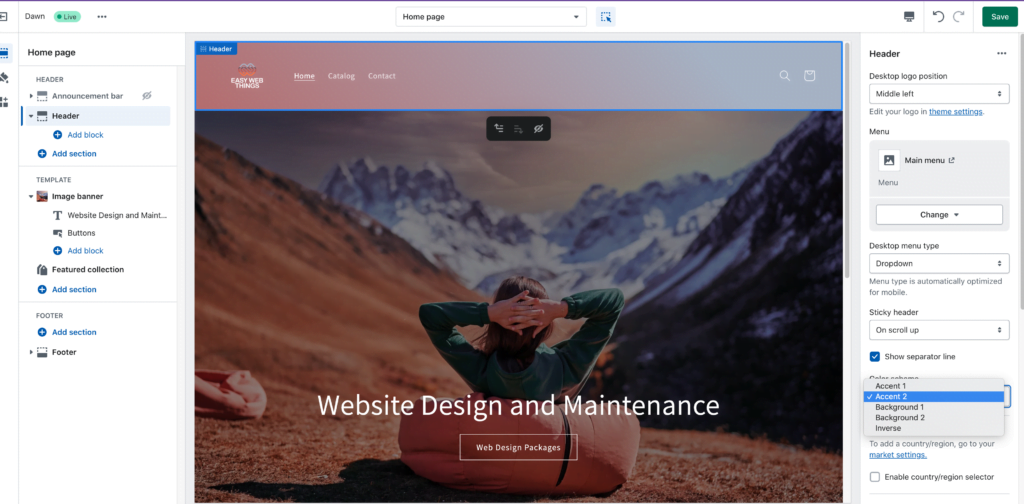
4. Add your logo and Set theme Colours to Style your Header
Once you have added your logo and set your theme colours, click the icon above the paintbrush to return to the edit window. To adjust the colour of your header, select the header then choose the background colour from the pre-sets in the sidebar on the right.
5. Create products and add images
Use the exit button in the top left of the editor, to return back to the Shopify Dashboard.
Select “Products” from the lefthand sidebar of the dashboard, and then click “Add Product”.
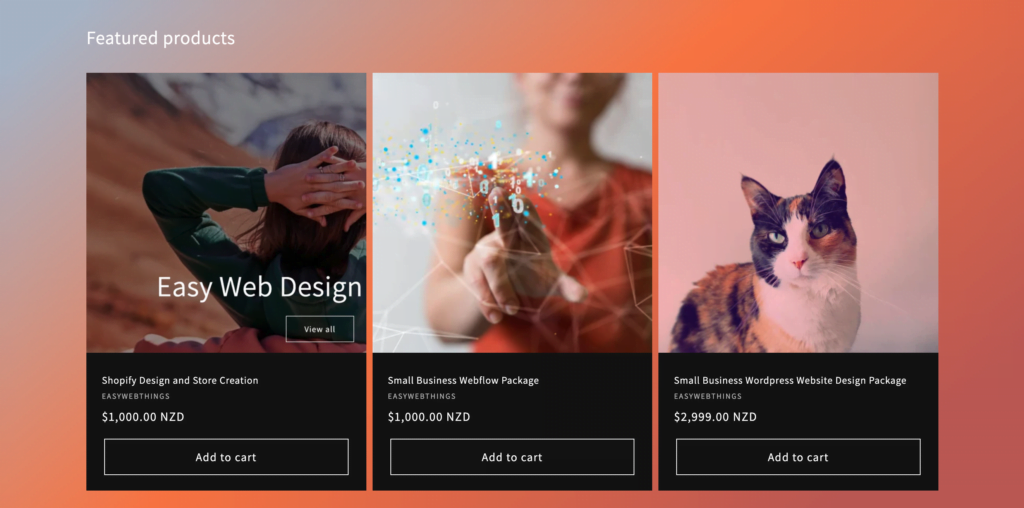
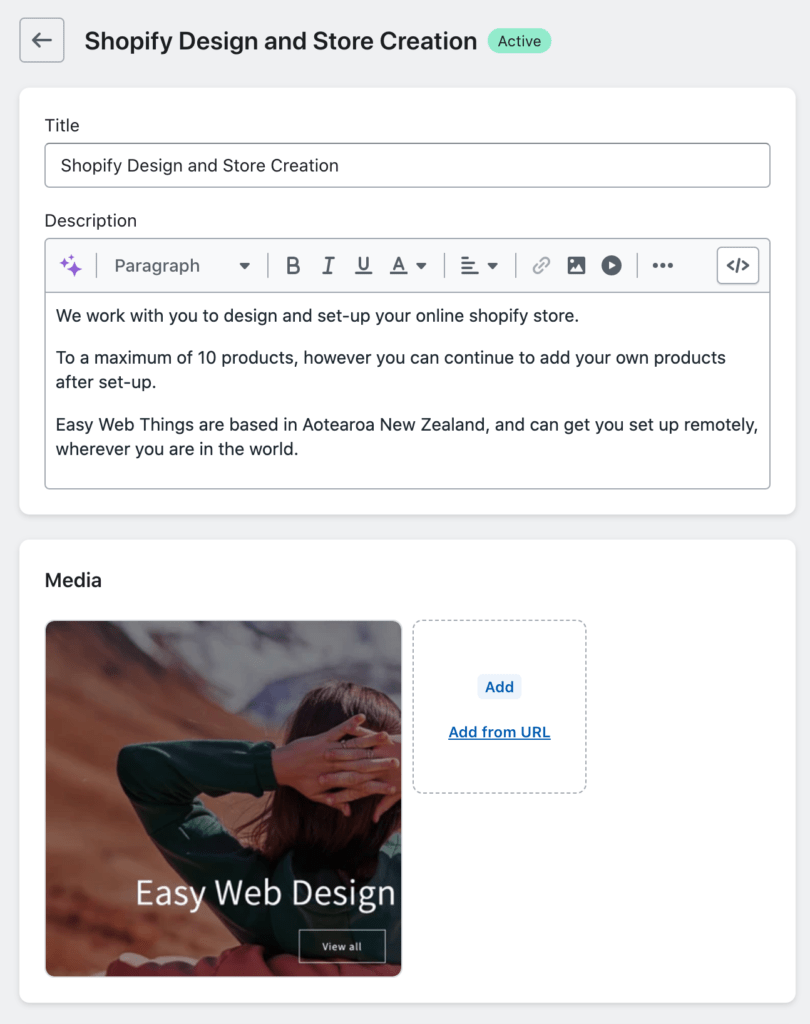
Add 3 or 4 products. They can be example products that you will adjust later, at this point they are placeholders for you to see how products will look in your store.
Add images to your products as you go.
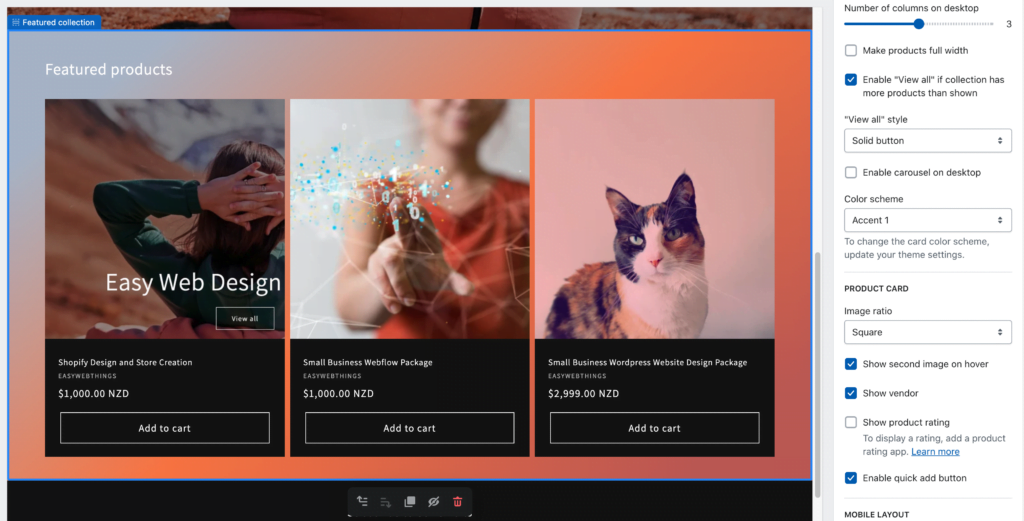
The Dawn theme will give you the option to have your product images cropped to square, or have the product card display the product in the original ratio.
If you add more than one image, the first image on the left will be displayed as the main product image, and the second image will be displayed when you move the mouse over the image. If you only add one image, moving the mouse over the image will zoom in slightly.
6. Return to the Editor to Style the Product Section
Choose ‘Online Store’ in the dashboard lefthand sidebar, and then the “Customise” button to return to the Editor.
Select the ‘Featured Products’ area, then use the righthand sidebar to adjust how you would like your products to be displayed. Remember, the colour schemes you select from, can be customised by clicking the paint brush icon in the left hand sidebar. You probably set these when customising the header, if you change them they will change any where that the specific colour scheme has been applied.
You can also style the footer and the bottom of the page of course, just click on it and use the right hand sidebar to select options.
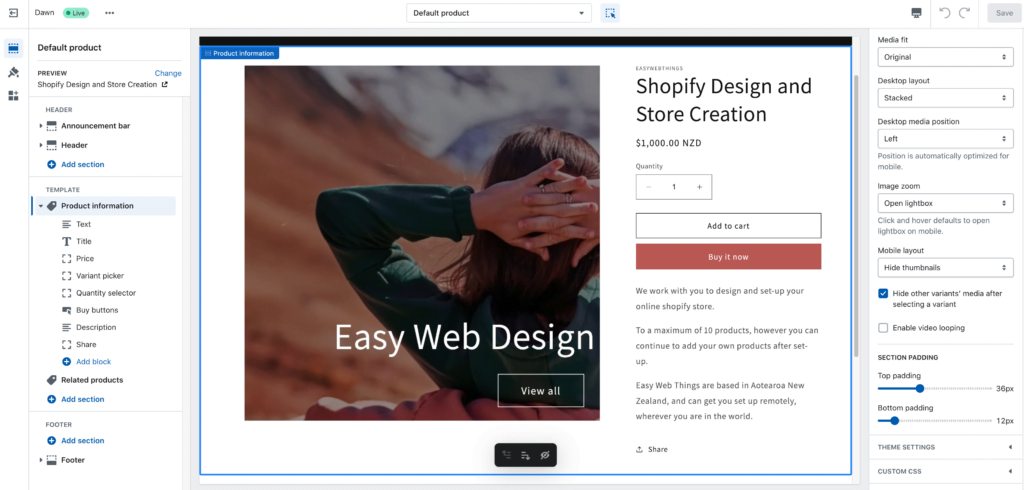
7. Click on a product to open and style the product page
8. You have Styled Shopify!
I hope this guide helped answer your questions about how to style a Shopify store.
When you are happy with how your shop looks, you can add more products or pages, and follow the Shopify Prompts to add a plan and a custom domain, and launch your store.
If you are starting a new businesses on Shopify, please do remember to comply with local laws and regulations, such as those around registering your business, and paying tax. This will vary from country to country, and this guide is not intended to give business or legal advice!
9.Choosing a Plan
If you choose the cheapest ‘starter’ plan you will lose pages you’ve created, and some customisations.
However the starter plan can be a good option if you are going to add your Shopify products to a WordPress website and not use Shopify for your main site.
If you are using Shopify as your main website, choose at least the ‘Basic’ plan or above. You can change plans later if you find you need more feautres.
Shopify also have a bunch of great plug-ins, to help get even more functionality out of your online store. From bookings, downloads, shipping, and options for selling at physical locations as well as online, Shopify will give you a lot of great options to help you give your customers an excellent experience.
10. Getting Help
Shopify is an awesome solution to getting set up with a functional and scalable online store. They even have options for selling at physical locations.
If you need help with creating a Shopify store, to style Shopify, or getting the best out of an existing store, get in touch with Easy Web Things.